How to Make a Gesture Remote Control with Arduino
This week’s projects is a gesture remote control. For this build we used the APDS-9960 RGB and Gesture Sensor board. By swiping your hand over the sensor, you can control different electronic devices such as computers, microcontrollers, robots and more. The APDS-9960 is built for easy connection and uses the I2C interface for communication. You can use it as a remote control for your TV, like we did, but you can use it to for device that uses infrared (IR). In the tutorial, we’ll take you through the project step-by-step, including the electronic circuit, code, 3d printed parts, and assembly.
First, take a look at the tutorial video we made for this project:
Click here or the image below to see the full circuit design:
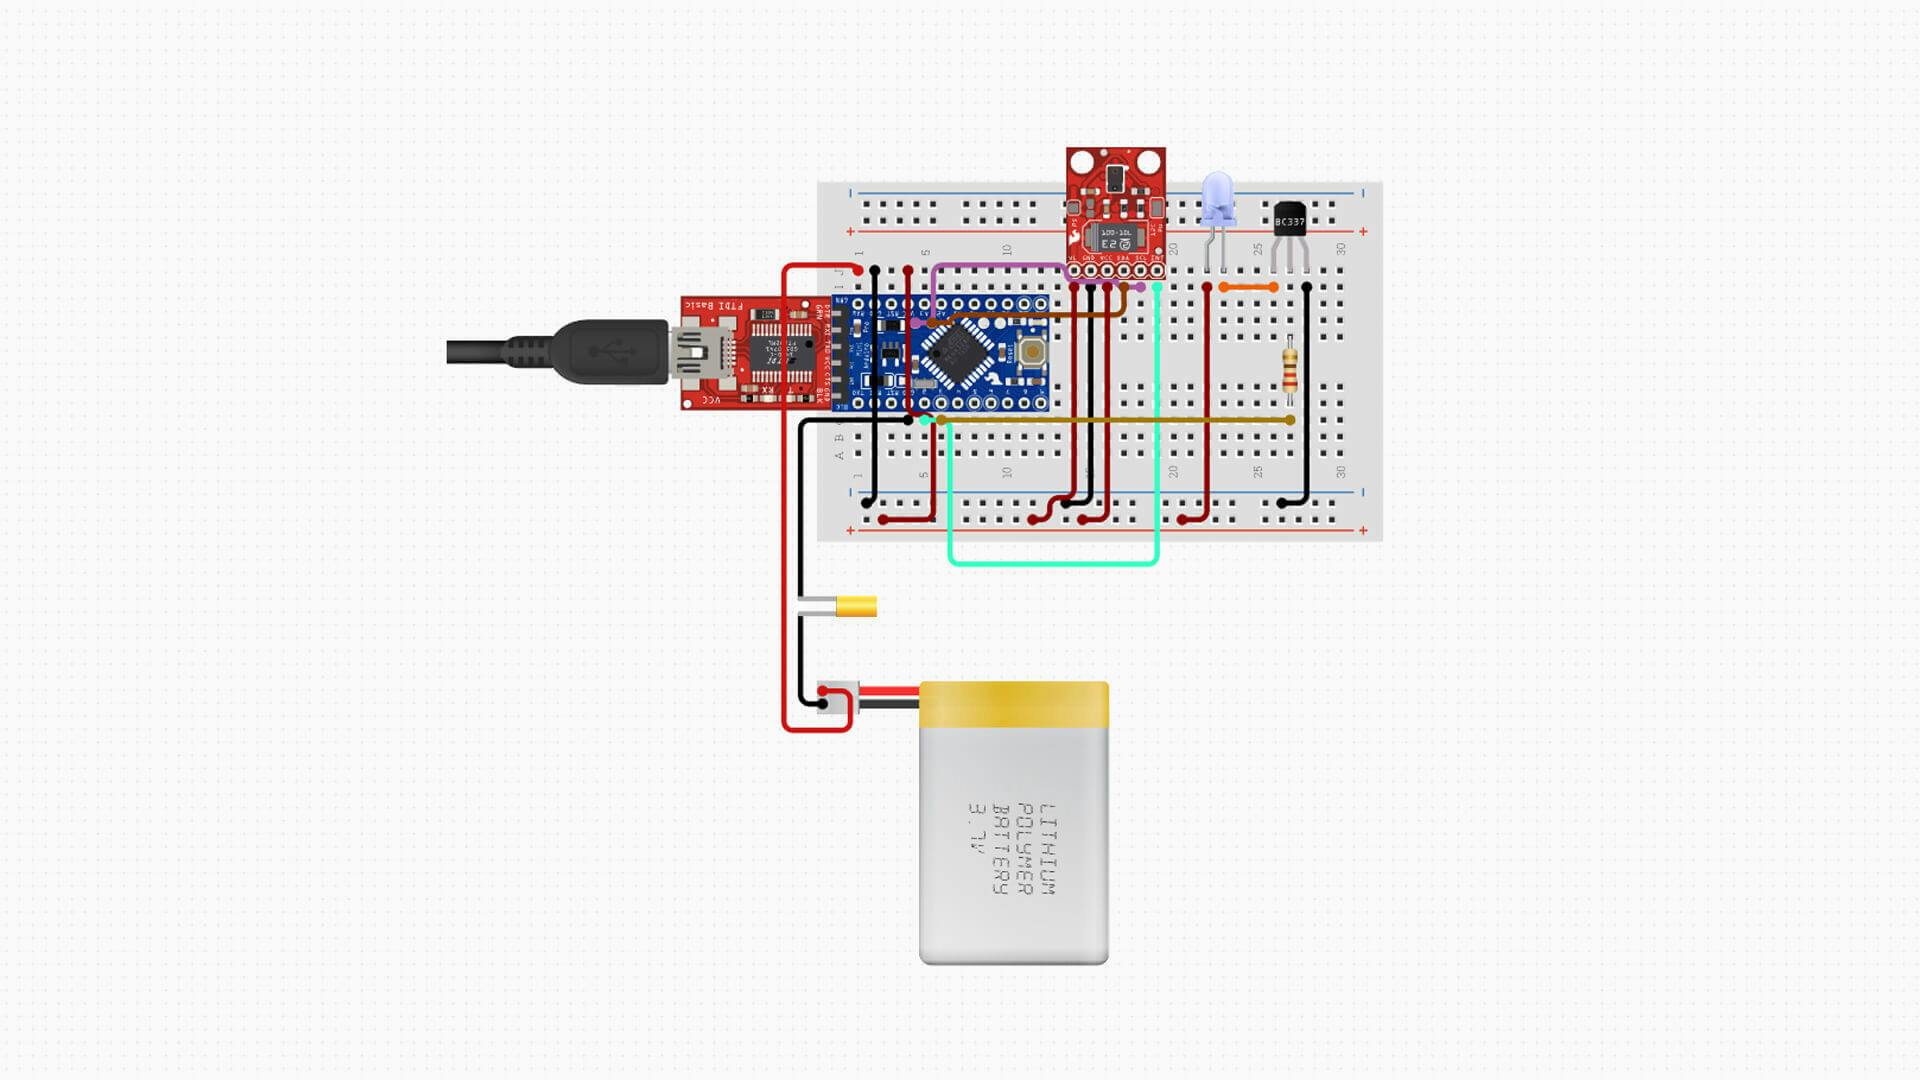
We designed the circuit using circuito.io. After adding the components onto the breadboard, we got a full list of components and wired the circuit according to the wiring instructions.
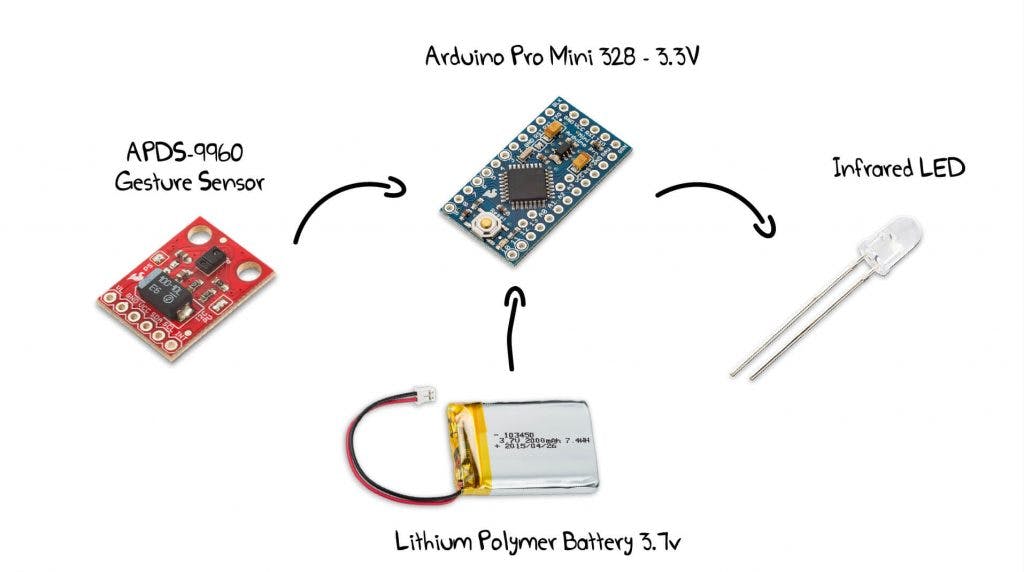
The gesture remote has 4 main components:
An APDS-9960 sensor which is actually four different sensors in one! It can be used as an ambient light sensor, RGB sensor, proximity sensor, and of course touchless gesture sensor.
We also used an Infrared LED to transmit IR codes to our TV.
An Arduino pro mini 3.3v microcontroller to control the IR led and the sensor and a 3.7 volt Lithium Polymer Battery to power the whole circuit.
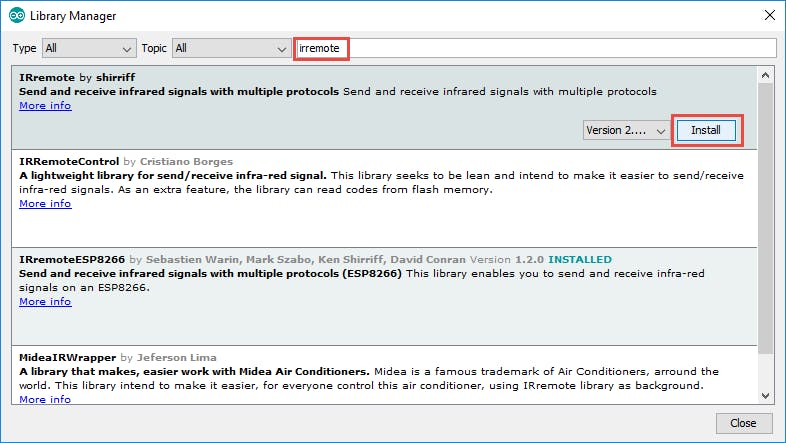
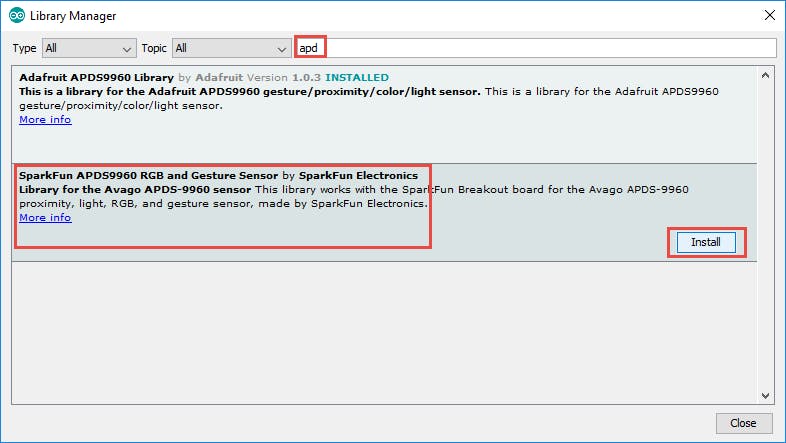
The code is based on the IR remote library by Ken Shirriff for the IR LED, and the Sparkfun gesture sensor library.
We merged the two basic code examples, sending IR raw codes on the one hand, and sensing the different gestures on the other.
The code is available on our Github Repo. Make sure to install the two libraries above in order for it to work.
As you can see in the video and in the code we set up 6 different functions with different gestures:
Before we can actually make the remote control our TV we need to figure out which IR signals to send over to it. To do that, we wired an IR receiver to another Arduino and uploaded the IR Receive Dump code example from the IR remote library.
by opening the serial monitor on the Arduino IDE and clicking on the original TV remote buttons we can determine which IR codes are used for each remote function.
We clicked all the remote buttons that we wanted to use and copied the data aside. Then we renamed each array to its actual function name and got rid of all the parts we don’t need. Next, we copied all the IR arrays into our previous gesture code and added the IR “send raw” function that uses the right IR array for each gesture. For example, when sensing the UP direction gesture, it sends the IR code of VolUp, and so on. At this point, we uploaded the code using the FTDI Breakout to do some testing.
Another issue we dealt with in this project was the power consumption. Since we wanted the battery to last for a long time, we added a “deep sleep” function to the code. This means that the Arduino actually sleeps unless the gesture sensor receives a signal. This signal wakes up the Arduino through its interrupt pin. Only then the Arduino performs its tasks of deciphering the different gestures and sending the IR signals through the IR LED.
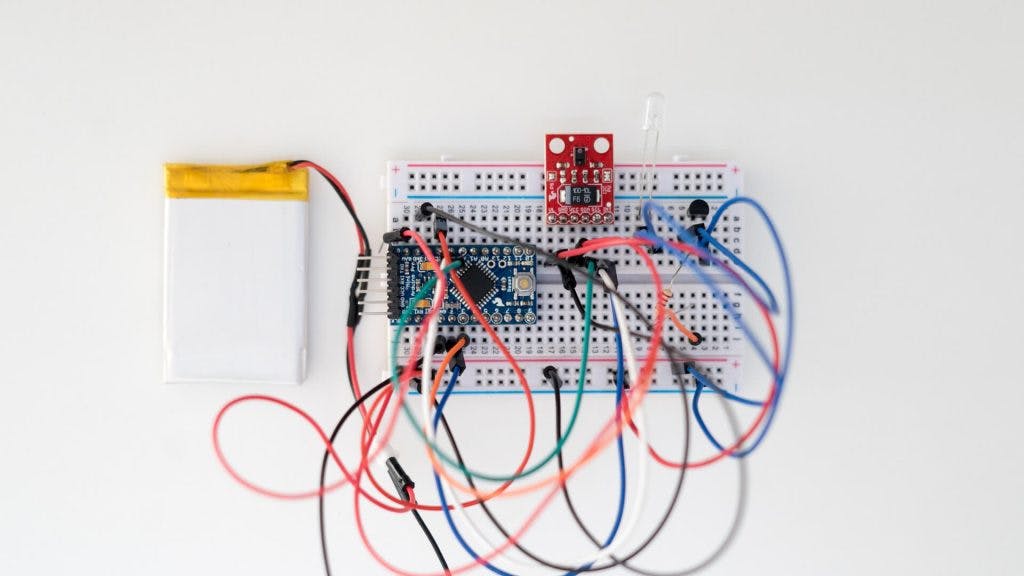
To make the circuit smaller, we used a soldered circuit instead of a breadboard. We used the exact wiring from circuito.io but this time we soldered the components directly to the Arduino. We also used a Prototype PCB that we cut to 3cm X 5cm in order to connect the different ground and power lines, and for soldering the IR LED transistor and resistor.
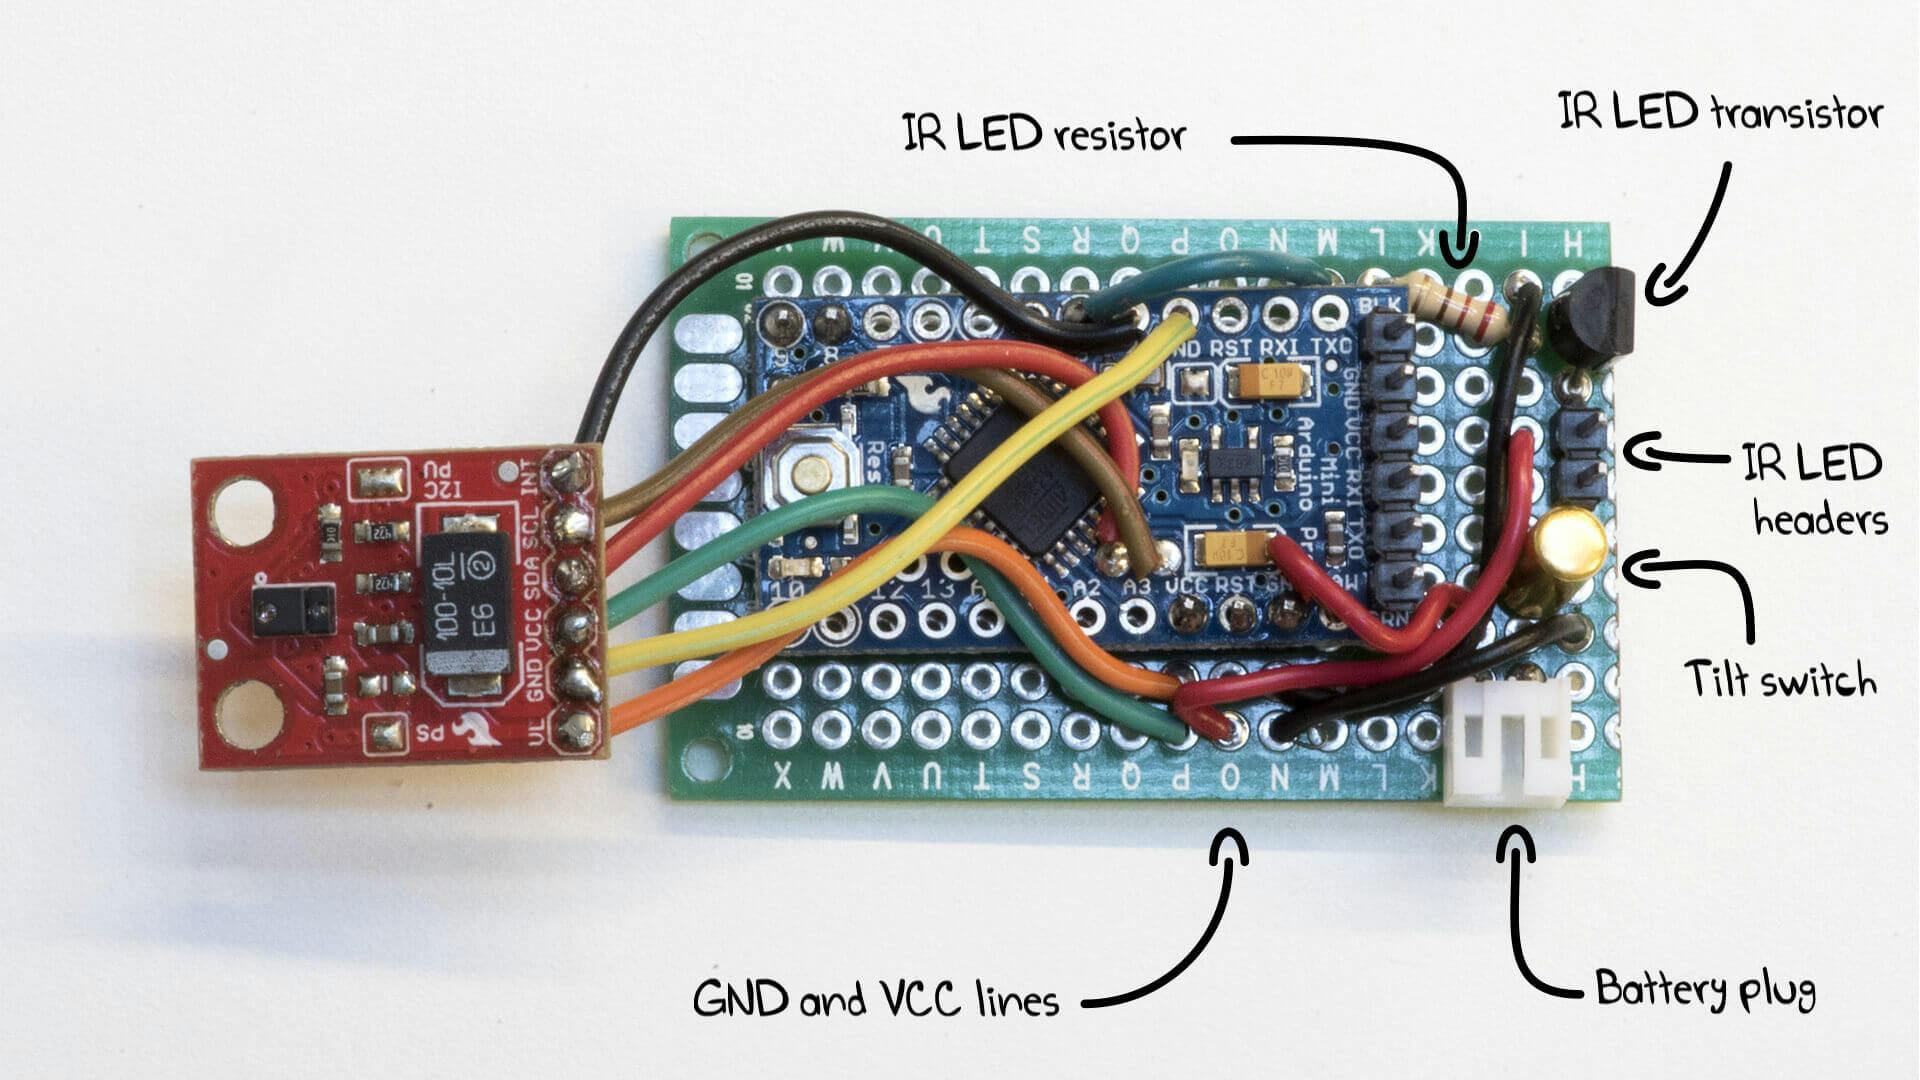
Next, we added a battery plug, and 2 headers that allow us to connect the IR LED easily.
Finally, we added a cool tweak to save even more battery power: we soldered a tilt switch between the battery ground line and the Arduino. This means that you can flip the circuit to cut the power supply to the Arduino, similar to a power switch, but without the switch.
We measured all the components and modeled a 3D plastic case that would hold all the components in place. You can find the .stl files here.
Then, we printed the case, screwed in the gesture sensor, mounted the led into its hole, screwed in the PCB, slip the battery into the case cover, and screwed the cover to the case.
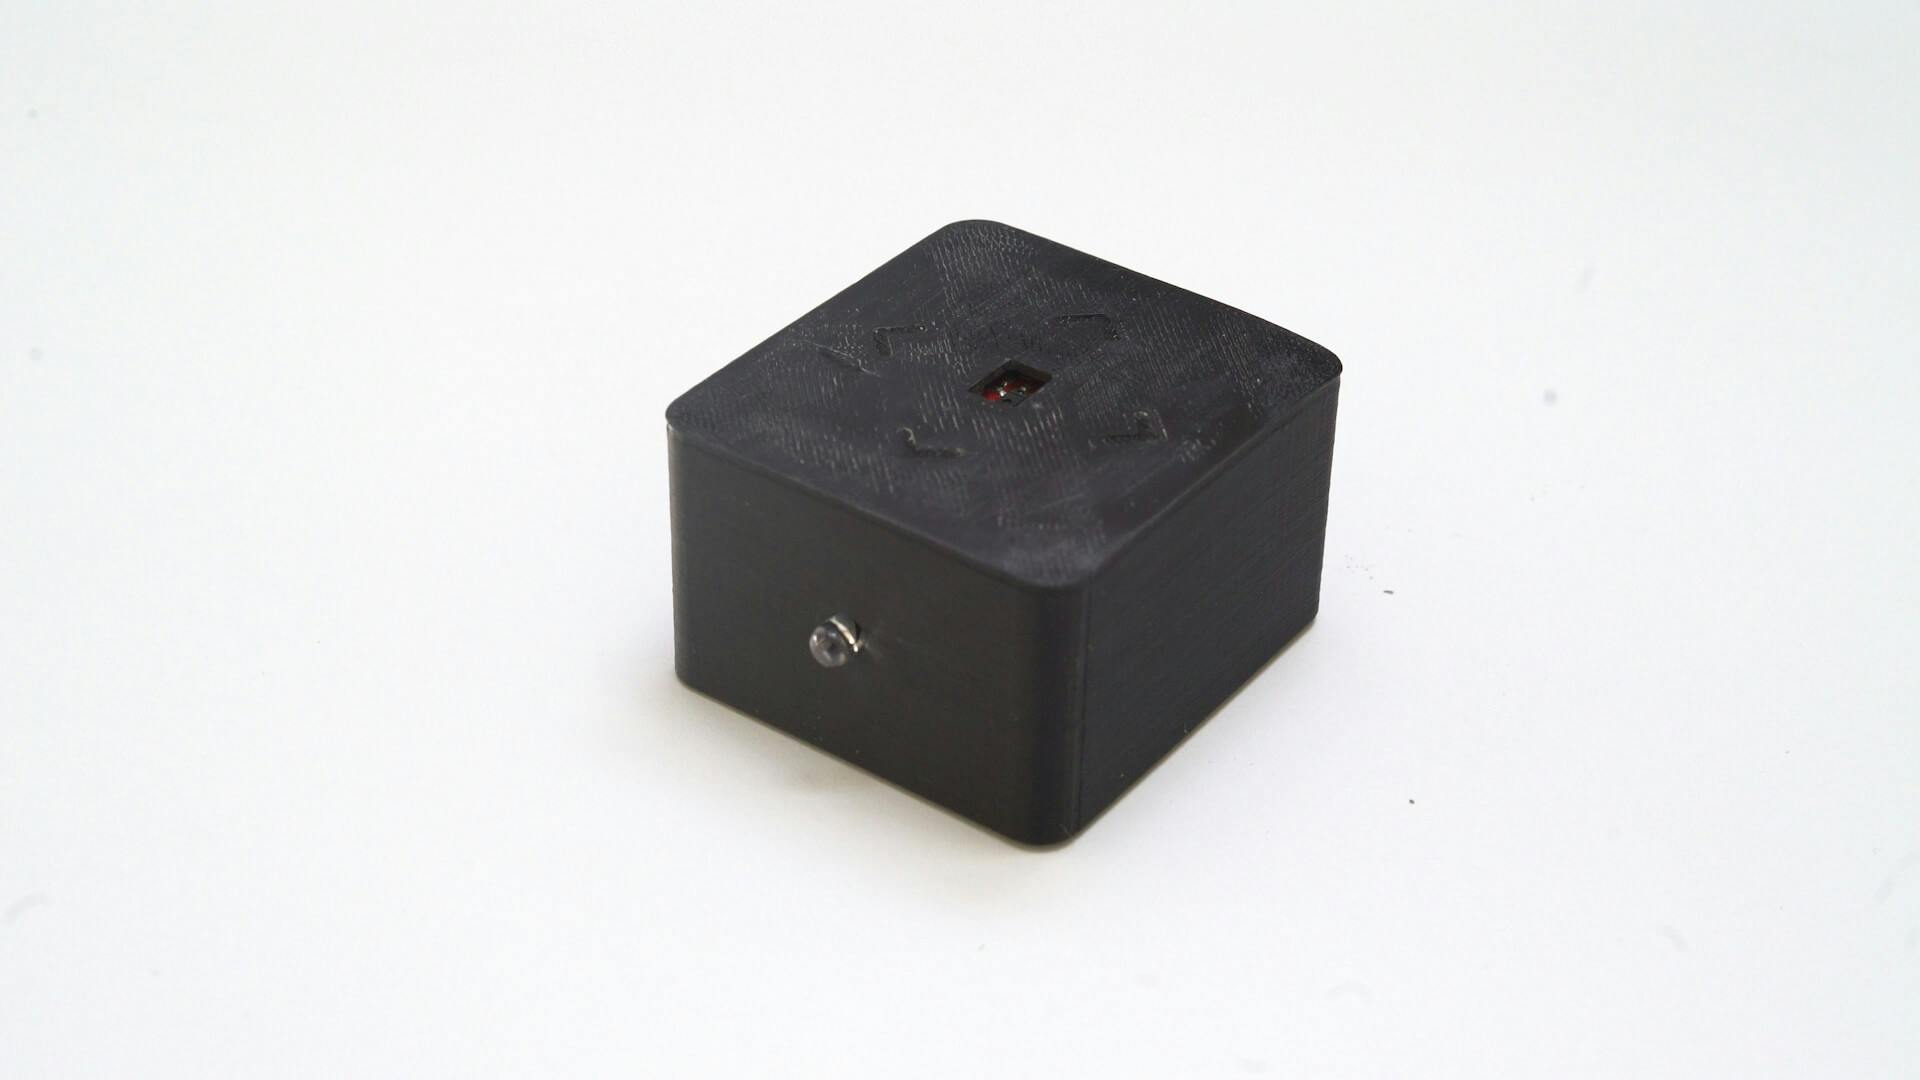
That’s it ! the remote is ready!
We hope you enjoyed this build and find some nice uses for it. If you have any ideas on how to improve this project or have any comments or questions, you’re welcome to add them below. If you made this build, we’d love to hear about it as well!
Till next time…