How to Build a Thirsty Flamingo Soil Moisture Sensor with Arduino Pro Mini
Moisture sensors are used in a variety of different projects. You can use them to test the moisture levels of different materials and even test the moisture levels in the walls of your home if you suspect they're damp. In the thirsty flamingo project, we're going to use a soil moisture sensor to monitor the humidity levels in our plants' environment. Every beginner gardener knows that it's not enough to water your plants, you also need to monitor the levels of moisture in the soil in order for your plants to stay healthy. The build we're about to show you is based on a soil moisture sensor that alerts you when the soil moisture in your plant dish changes.
Note: in the video, you'll see an older version of circuito.io.
We used two main components in this build - a soil moisture sensor and a Piezo speaker. The speaker starts playing a tune when the soil moisture levels reach below the pre-set threshold.
After testing the circuit, we also made a custom PCB for it so that it would fit nicely into the 3D printed casing we designed.
Click here or the image below for a detailed wiring guide.
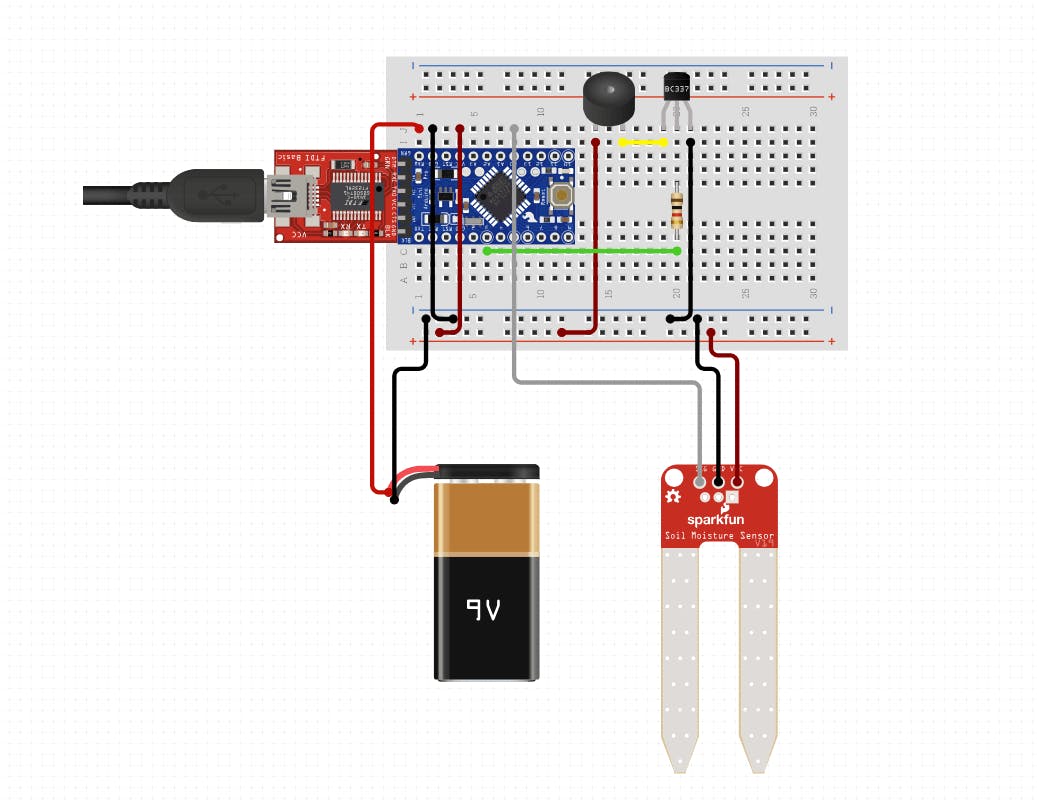
Go to Thirsty Flamingo circuit
Now you can test the circuit to see if it works properly.
You can find the code for the project on our Github repo.
After downloading the code, upload it to your Arduino using the Arduino IDE. Make sure to set the correct board and the correct port before you upload.
The main logic of the code uses the soilMoisture.read() function. If the soil moisture level reaches below 400 (or whichever value you decide to set), it triggers the piezoSpeaker to start playing a melody, in the case - piezoSpeakerHooray.
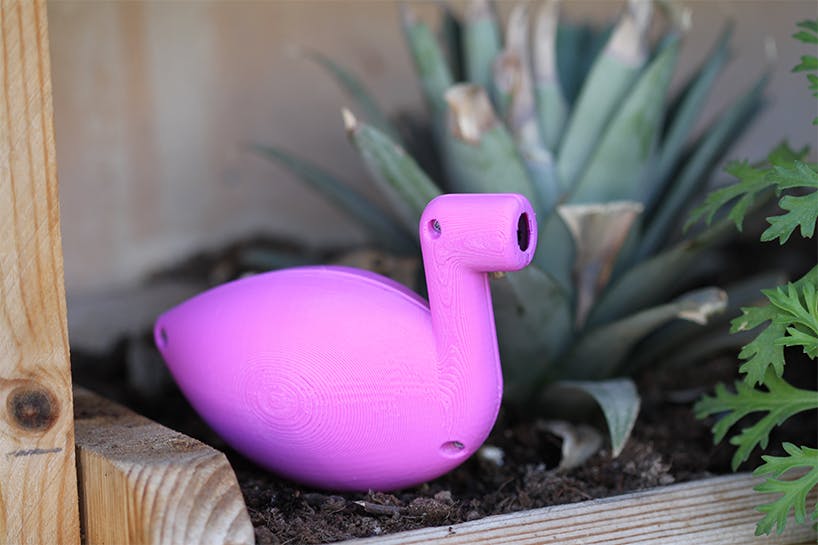
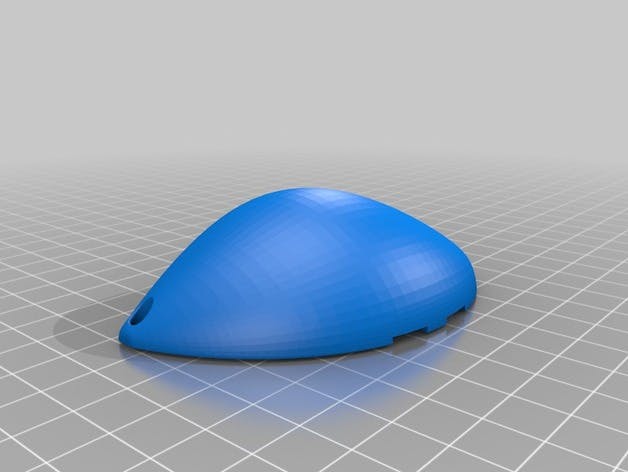
We designed a flamingo-shaped casing for the soil moisture sensor circuit. You can go wild and design different shapes and sizes of casings according to your liking.
There are two main parts to this design, and you can download and print them from Thingiverse.
After printing, you’ll need to place the circuit into the housing and screw together the using the screw holes in the design. Afterward, place the battery into place - and you're done!
Let us know how everything goes. You’re welcome to share your experience with us on our community forum.